

In this quick tip, am going to work you through the process of creating a nice looking rainbow-colored eyes effect with Photoshop, there is no need to limit yourself to just a single eye color when you can choose every eye color at once!
This tutorial is very easy and quick. We are going to use the ellipse tool to simply make a selection around the eye, then remove the fill until we can see the eye again. Next, we’re going to apply the spectrum gradient style and simply change it mode to color. After which we’re going to add a layer mask and shade off the unwanted part of the ellipse.
Finally, we are going to add 2 adjustment layer just to enhance our images a little more.
Level: Beginners
Difficulty: Easy
Time: 2 Minutes Max.
Resources:
Below are the list of resources used in this tutorial, you can download and use if you wish.
Photo
You can watch video for better demonstration.
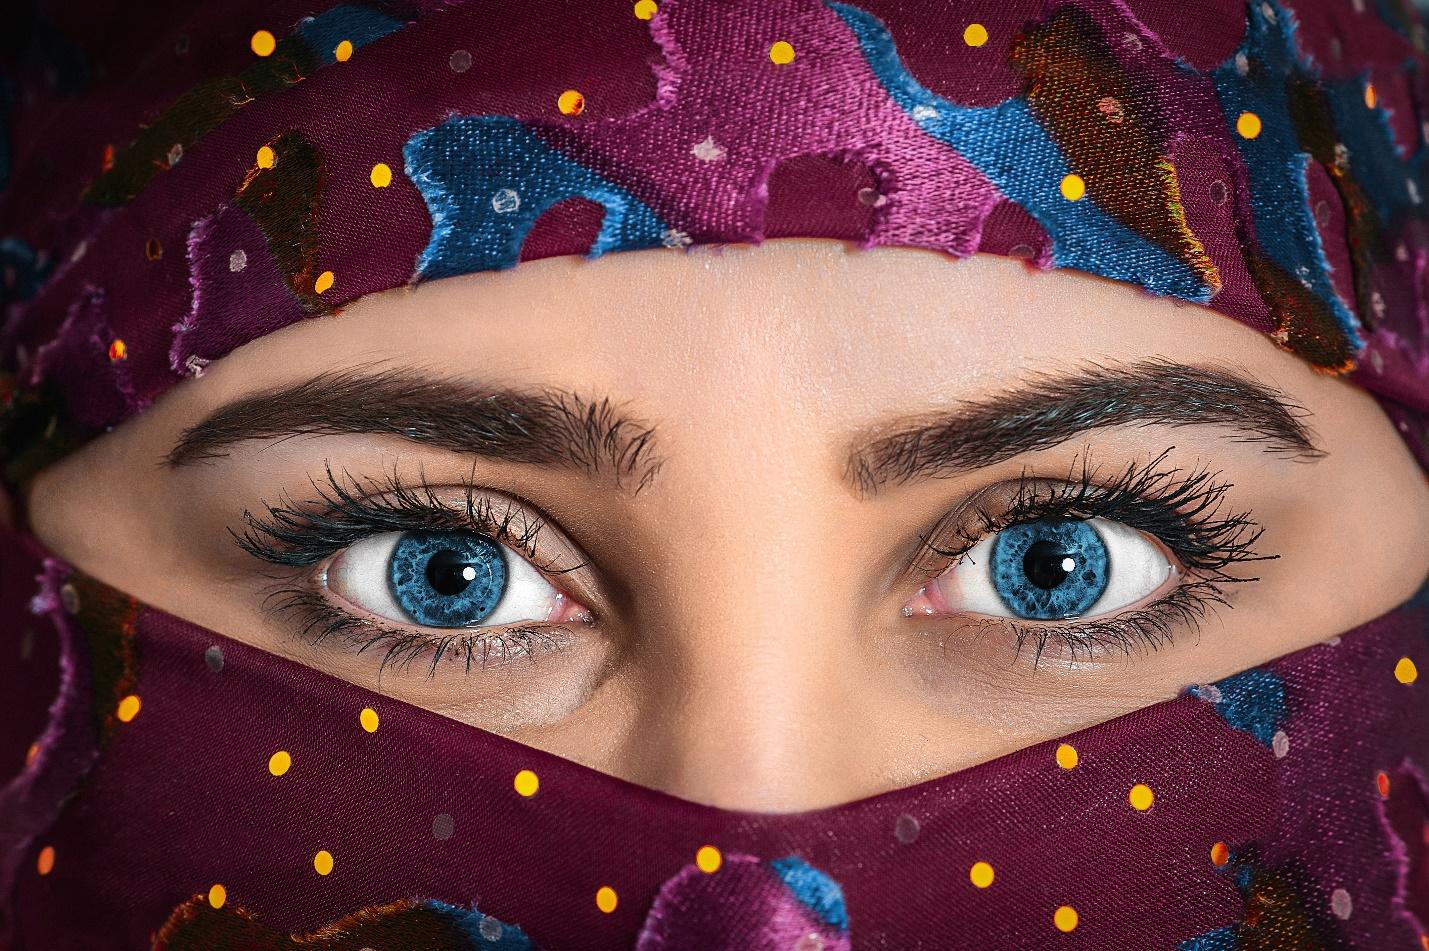
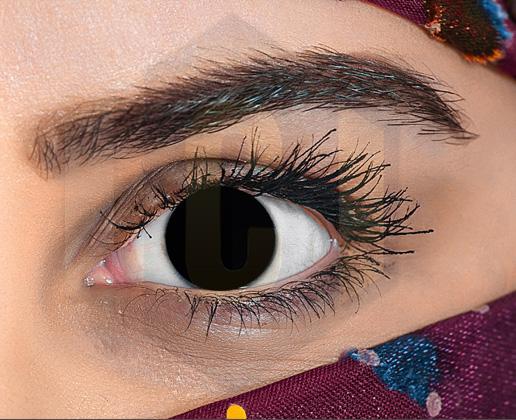
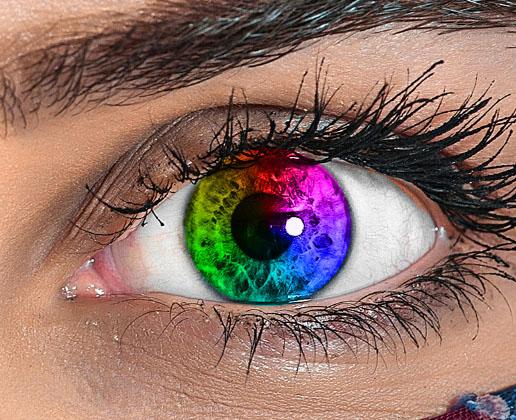
The original photo. Credit: Pexels.
And here's how it will look when we're done. This is just the base rainbow eyes effect.
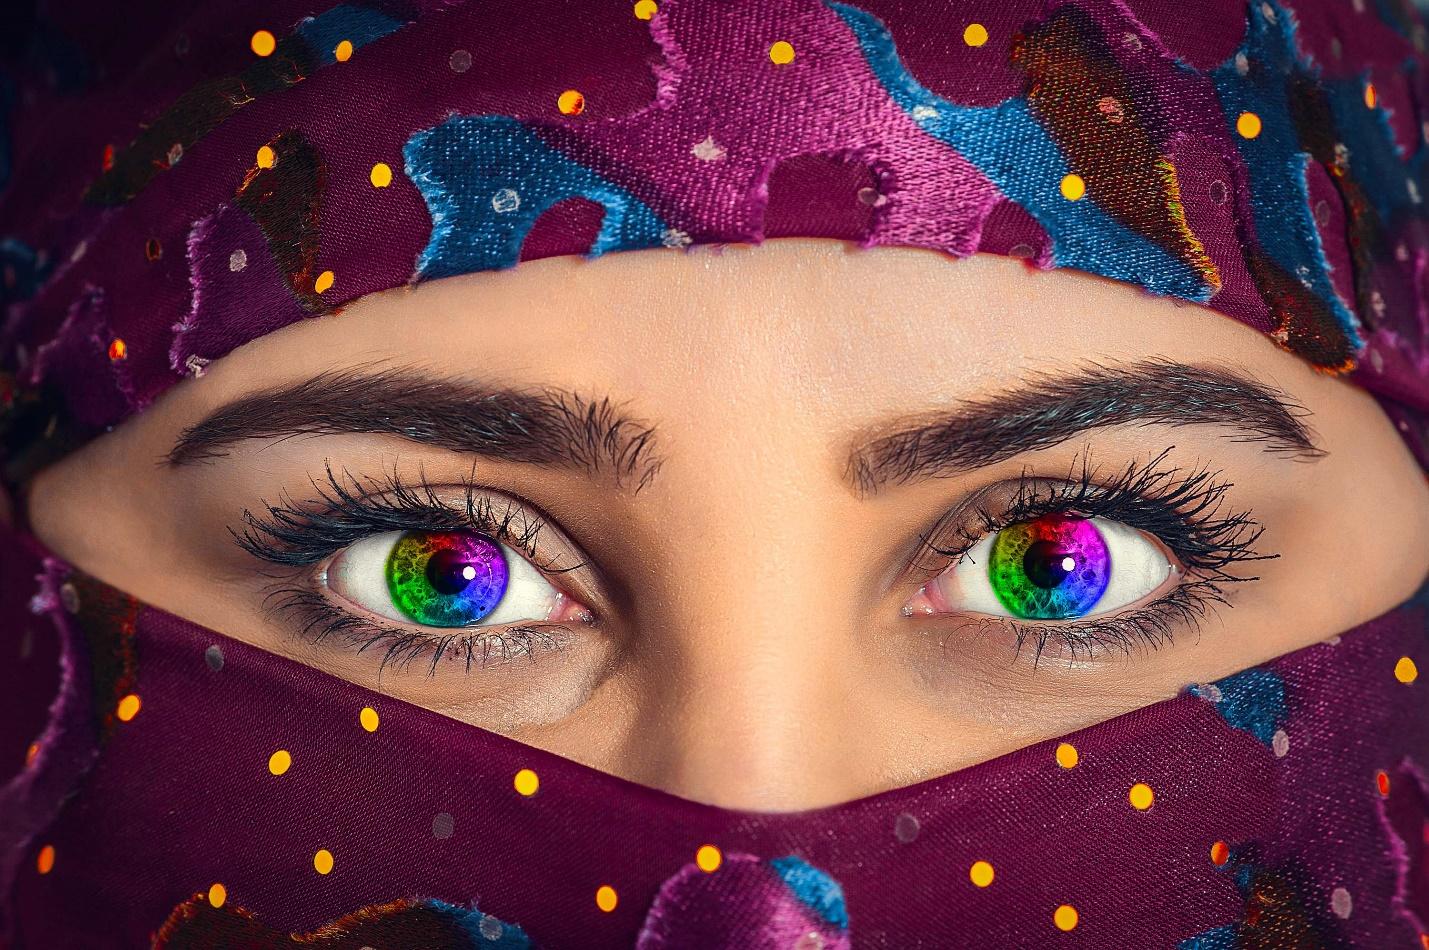
The final effect.
Let's get started!
You can watch video for better demonstration.
The original photo. Credit: Pexels.
And here's how it will look when we're done. This is just the base rainbow eyes effect.
The final effect.
Let's get started!
Step 1: Select The Ellipse Tool
With the picture opened, select the Ellipse tool and make a selection around the eye you wish to change the color
By default, the Ellipse Tool is hiding behind the Rectangle Tool. To get to the Ellipse Tool, right-click (Win) / Control-click (Mac) on the Rectangle Tool, then choose the Ellipse Tool from the fly-out menu:
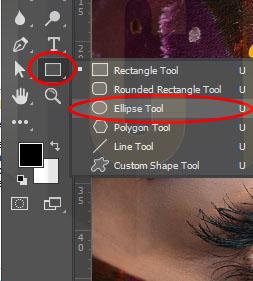
The ellipse tool
Step 2: Set The Tool Mode To "Shape"
With the Ellipse Tool selected, set the Tool Mode option in the Options Bar along the top of the screen to Shape. This will allow us to draw vector shapes.
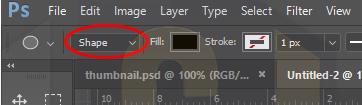
Screenshot showing the shape option in the option bar
Step 3: Draw an Ellipse around the Eye
Next, we simply need to draw an ellipse or a circle like shape around the eye. This is where we are going to apply our gradient.
Result after drawing the shape on the eyes
Step 4: Reduce fill to zero
After drawing the circle on the eye of the model, you can see that it covers the eye which is not our intention. So to fix this, we’re simply going to turn down the fill of that layer down to zero, this will get rid of all the black color in the shape layer.
Note: depending on your foreground color, the shape color may not be black as shape fill takes the color of your foreground. This is to say that if your foreground is red, it’s going to fill the shape with red instead of black as in my own case.
The color doesn’t matter as we are going to get rid of it by turning down the fill all the way to zero.
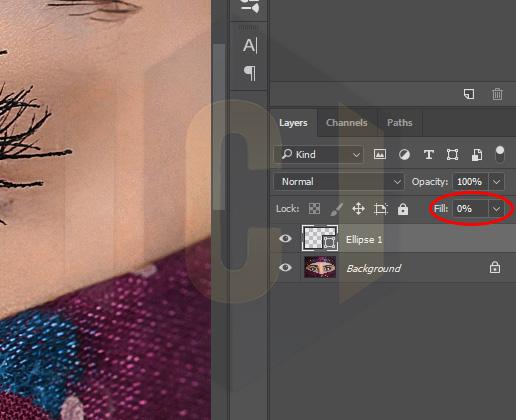
Screenshot showing fill reduced to zero
Now after this, you’ll find out that you can see the eye clearly once again.
With the Ellipse Tool selected, set the Tool Mode option in the Options Bar along the top of the screen to Shape. This will allow us to draw vector shapes.
Screenshot showing the shape option in the option bar
Step 3: Draw an Ellipse around the Eye
Next, we simply need to draw an ellipse or a circle like shape around the eye. This is where we are going to apply our gradient.
Result after drawing the shape on the eyes
Step 4: Reduce fill to zero
After drawing the circle on the eye of the model, you can see that it covers the eye which is not our intention. So to fix this, we’re simply going to turn down the fill of that layer down to zero, this will get rid of all the black color in the shape layer.
Note: depending on your foreground color, the shape color may not be black as shape fill takes the color of your foreground. This is to say that if your foreground is red, it’s going to fill the shape with red instead of black as in my own case.
The color doesn’t matter as we are going to get rid of it by turning down the fill all the way to zero.
Screenshot showing fill reduced to zero
Now after this, you’ll find out that you can see the eye clearly once again.
Step 5: Add the Rainbow(Spectrum) Gradient and change mode to color.
Next you want to click on add layer style and choose Gradient overlay, look for the spectrum.
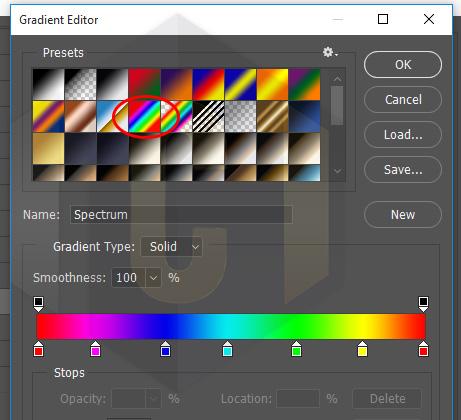
The spectrum gradient
At the moment, the gradient fill of the shape is completely blocking the eye from view. To blend the colors of the gradient in with the eye but no worries, we are going to fix it soon.
Now you want to change the
Style to 90
Angle to 90 degrees and
Scale to 100
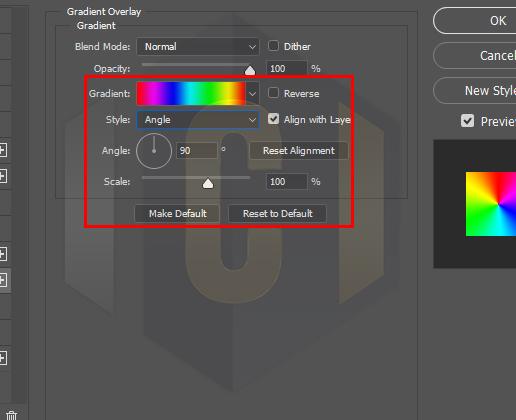
gradient options
Even after all these adjustments, we still find the gradient covering the eye. To reveal the eye, change the blend mode from normal to Color.
Why did we change it to color?
Changing the blend mode of the shape to "Color":
This colorizes the eye with the colors from the gradient. Still it still leaves some glitches as we can see some extra around the eye.
We’re simply going to fix this by brushing off the extras off the eye

showing the blend mode changed to color
Here’s the result after changing the shape's blend mode to "Color".
Result after changing blend mode to color
Step 6: Add A Layer Mask
To clean up the areas around the iris where we don't want the gradient colors to appear, we'll use a layer mask. With the Shape layer still selected, click the Layer Mask icon at the bottom of the Layers panel:
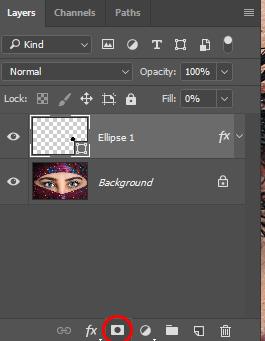
screenshot showing layer mask
A white-filled layer mask thumbnail will appear on the Shape layer. Notice the highlight border around the thumbnail. The border tells that we now have the layer mask, not the shape itself, selected, which means that anything we do next will be done to the mask, not to the shape:

Step 7: Select The Brush Tool
We'll clean up the unwanted areas by painting with black on the layer mask. For that, we'll need Photoshop's Brush Tool. Select it from the Toolbar.
Photoshop uses the current Foreground color as the brush color, which means that to paint with black, we need to set our Foreground color to black. We can see the current Foreground and Background colors in the two color swatches near the bottom of the Toolbar. The Foreground color is the one in the upper left.
If your Foreground color is not set to black, press the letter D on your keyboard to quickly reset the Foreground and Background colors to their defaults, which sets the Foreground color to white and the Background color to black. Then, press the letter X on your keyboard to swap the colors, making your Foreground color black:
Next you want to click on add layer style and choose Gradient overlay, look for the spectrum.
The spectrum gradient
At the moment, the gradient fill of the shape is completely blocking the eye from view. To blend the colors of the gradient in with the eye but no worries, we are going to fix it soon.
Now you want to change the
Style to 90
Angle to 90 degrees and
Scale to 100
gradient options
See also: 12 Quick Photoshop Tips for Beginners
Even after all these adjustments, we still find the gradient covering the eye. To reveal the eye, change the blend mode from normal to Color.
Why did we change it to color?
Changing the blend mode of the shape to "Color":
This colorizes the eye with the colors from the gradient. Still it still leaves some glitches as we can see some extra around the eye.
We’re simply going to fix this by brushing off the extras off the eye
showing the blend mode changed to color
Here’s the result after changing the shape's blend mode to "Color".
Result after changing blend mode to color
Step 6: Add A Layer Mask
To clean up the areas around the iris where we don't want the gradient colors to appear, we'll use a layer mask. With the Shape layer still selected, click the Layer Mask icon at the bottom of the Layers panel:
screenshot showing layer mask
A white-filled layer mask thumbnail will appear on the Shape layer. Notice the highlight border around the thumbnail. The border tells that we now have the layer mask, not the shape itself, selected, which means that anything we do next will be done to the mask, not to the shape:
Step 7: Select The Brush Tool
We'll clean up the unwanted areas by painting with black on the layer mask. For that, we'll need Photoshop's Brush Tool. Select it from the Toolbar.
Photoshop uses the current Foreground color as the brush color, which means that to paint with black, we need to set our Foreground color to black. We can see the current Foreground and Background colors in the two color swatches near the bottom of the Toolbar. The Foreground color is the one in the upper left.
If your Foreground color is not set to black, press the letter D on your keyboard to quickly reset the Foreground and Background colors to their defaults, which sets the Foreground color to white and the Background color to black. Then, press the letter X on your keyboard to swap the colors, making your Foreground color black:
Step 8: Paint Around The Iris
With the Brush Tool selected, black as your Foreground color and the layer mask selected, simply paint around the outside of the iris to hide the unwanted colors from the gradient.
You'll want to use a small, soft-edge brush. To change your brush size from the keyboard, press the left bracket key ( [ ) repeatedly to make the brush smaller, or the right bracket key ( ] ) to make it larger. To adjust the hardness of the brush edges, press and hold your Shift key while pressing the left bracket key to make the brush softer or the right bracket key to make the brush harder.
Here, I'm painting away the gradient that extends into the white areas of the eye. Since we're painting on a layer mask, we don't see our brush color as we paint. Instead, the gradient colors disappear in the areas we paint over:
I'll also paint over the eyelid at the top to remove the gradient colors from that area.
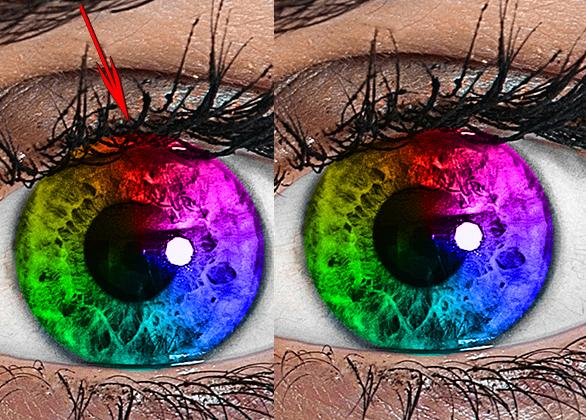
screenshot showing comparison between before and after we used the brush to mask
If you make a mistake and accidentally paint away some of the color in the iris, press the letter X on your keyboard to swap your Foreground and Background colors. This will set your Foreground color to white. Paint over the area with white to restore the colors. Then, press X to swap the colors again, setting your Foreground color back to black, and continue painting.
So far, so good. We now have our first eye colorized with our rainbow colors:
Now repeat this step for the other eye.
After that, you want to add curves and vibrance to boost the colors a bit more.
With the Brush Tool selected, black as your Foreground color and the layer mask selected, simply paint around the outside of the iris to hide the unwanted colors from the gradient.
You'll want to use a small, soft-edge brush. To change your brush size from the keyboard, press the left bracket key ( [ ) repeatedly to make the brush smaller, or the right bracket key ( ] ) to make it larger. To adjust the hardness of the brush edges, press and hold your Shift key while pressing the left bracket key to make the brush softer or the right bracket key to make the brush harder.
Here, I'm painting away the gradient that extends into the white areas of the eye. Since we're painting on a layer mask, we don't see our brush color as we paint. Instead, the gradient colors disappear in the areas we paint over:
I'll also paint over the eyelid at the top to remove the gradient colors from that area.
screenshot showing comparison between before and after we used the brush to mask
If you make a mistake and accidentally paint away some of the color in the iris, press the letter X on your keyboard to swap your Foreground and Background colors. This will set your Foreground color to white. Paint over the area with white to restore the colors. Then, press X to swap the colors again, setting your Foreground color back to black, and continue painting.
So far, so good. We now have our first eye colorized with our rainbow colors:
Now repeat this step for the other eye.
After that, you want to add curves and vibrance to boost the colors a bit more.
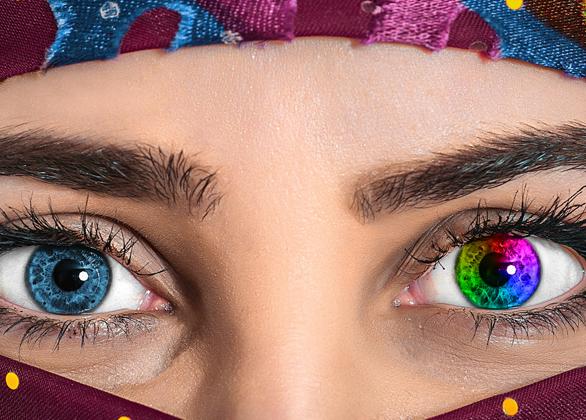
Something else you can do is to simply use the Hue/Saturation adjustment layer to change eye color, this is a very wonderful and easy way also.
Here’s my final effect:
Watch video tutorial to see full demonstration
Worth sharing huh? Sharing is loving, please share
If you liked this article, then please subscribe to our YouTube Channel for video tutorials. You can also find us on Twitter, Instagram and Facebook.
Here’s my final effect:
Watch video tutorial to see full demonstration
Worth sharing huh? Sharing is loving, please share
If you liked this article, then please subscribe to our YouTube Channel for video tutorials. You can also find us on Twitter, Instagram and Facebook.


Post A Comment:
0 comments: